Okay, last post I went over the general outline for Bookworm, now let's actually start writing some code. I want to focus on three things right now: formatting my "stories", opening them, and reading them.
The Bookworm Document Format
Here's how this is going to work. Bookworm is going to open a plain text file, that is written in HTML but not saved as a webpage (since it will be missing some necessary parts to be a proper HTML document). That HTML content is going to be appended (or added) to a blank <div> "reading area." Then the reader can use links to show and hide the text as they read through it.
Because these files are going to be added to an existing document, while they will be written in HTML they will not have the <doctype> or <head> or <body> sections. They are just going to be the code that would be within the <body> section (without that wrapper itself). That code is also going to use the "data-goto" attributes linked to "id" attributes to navigate the document. Let me show you some of the sample file I wrote:
<div id="0">
<h2>Lorem ipsum</h2>
<p>dolor sit amet, consectetuer adipiscing elit. Aenean commodo ligula eget dolor. Aenean massa. Cum sociis natoque penatibus et magnis dis parturient montes, nascetur ridiculus mus. Donec quam felis, ultricies nec, pellentesque eu, pretium quis, sem. Nulla consequat massa quis enim...</p>
<a href="#" data-goto="1">Next Section</a>
</div>
<div id="1" class="passage">
<h2>Ni! Ni! Ni! Ni!</h2>
<p>...You can't expect to wield supreme power just 'cause some watery tart threw a sword at you! ...You don't frighten us, English pig-dogs...Your mother was a hamster and your father smelt of elderberries! Now leave before I am forced to taunt you a second time! ...</p>
<a href="#" data-goto="2">Next Section</a>
</div>
<div id="2" class="passage">
<h2>Tonight's the night.</h2>
<p>...I'm Dexter. Boo. I love Halloween. The one time of year when everyone wears a mask … not just me... And it's going to happen again and again. It has to happen. I'm really more an apartment person...I'm not the monster he wants me to be. So I'm neither man nor beast. I'm something new entirely. With my own set of rules...</p>
<a href="#" data-goto="3">Next Section</a>
</div>
<div id="3" class="passage">
<h2>Hi. I'm Troy McClure.</h2>
<p>Attempted murder? Now honestly, what is that? Do they give a Nobel Prize for attempted chemistry? Books are useless! I only ever read one book, "To Kill A Mockingbird," and it gave me absolutely no insight on how to kill mockingbirds...Hi. I'm Troy McClure. You may remember me from such self-help tapes as "Smoke Yourself Thin" and "Get Some Confidence, Stupid...Oh, a *sarcasm* detector. Oh, that's a *really* useful invention...Dear Mr. President, There are too many states nowadays. Please, eliminate three...</p>
<a href="#" data-goto="4">Next Section</a>
</div>
<div id="4" class="passage">
<h2>Yo ho ho and a bottle of rum...</h2>
<p>...Pinnace holystone mizzenmast quarter crow's nest ...Shiver me timbers to go on account lookout wherry doubloon chase...p>
<h3>The End</h3>
</div>
Yeah, I love my alternate lorem ipsum generators :) So, the basics of the format: each passage except the first has the class of "passage" which has display: none to hide them by default. Each link is a direct child of the <div> element (that is <div><a></a></div>, basically, it doesn't work if there is another div like <div 1><div 2><a></a></div></div>, it could, just doesn't right now) - and the link has a "data-goto" attribute with the same vaule as the "id" attribute it shows. I wrote this as a fragment of an HTML page (that is to say, there is no <doctype>, <head> or <body> sections), but it works even with a full webpage.
What it looks like
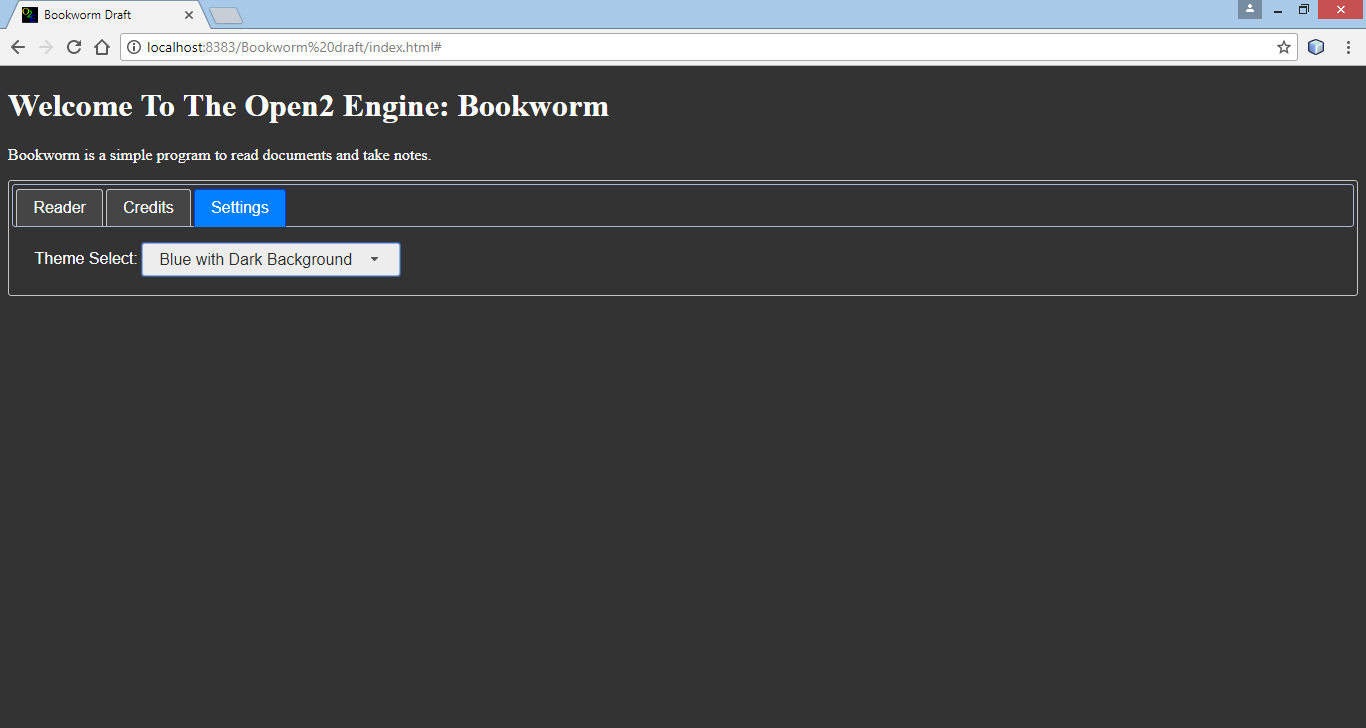
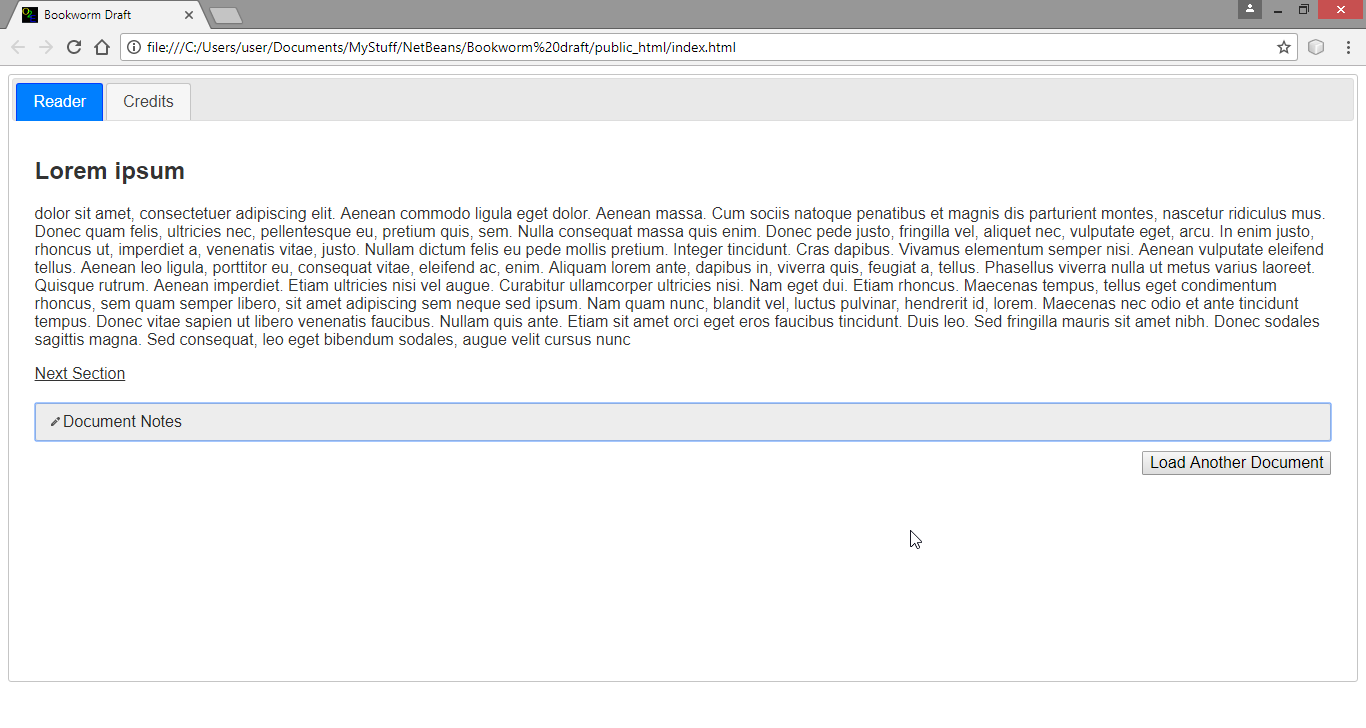
So here are some screenshots of Bookworm in action:
Just the two tabs for now, the loader/reader and credits.
Clicking on the "Choose File" button will load a text file.
And all of the display links work.
HTML files work too. Anything text-based. The "Load Another File" button will hide the reader and go back to the load section.
The Code
Okay, let's look at how this was written. Here is the HTML page, section by section:
<!DOCTYPE html>
<!--
This is my draft of the Open2 Engine "Bookworm", a simple file reader
last updated: 2017-10-04
-->
<html>
<head>
<title>Bookworm Draft</title>
<meta charset="UTF-8">
<meta name="viewport" content="width=device-width, initial-scale=1.0">
<link rel="stylesheet" type="text/css" href="css/jquery-ui.css">
<link rel="stylesheet" type="text/css" href="css/jquery-ui.structure.css">
<link rel="stylesheet" type="text/css" href="css/jquery-ui.theme.css">
<link rel="stylesheet" type="text/css" href="css/bookworm.css">
<link rel="shortcut icon" href="favicon.ico" />
</head>
I'm going to use jQuery UI to make the tabs and some other elements down the road, so in the <head> I'm linking to all of jQuery UI's CSS stylesheets. I also made a favicon, because the Chrome developer's console keeps throwing an error if one is missing, which is not a big deal, but it annoys me to no end.
Okay, moving on from the boring stuff...
<body>
<!--
SET THE TAB DIV AND HEADERS
-->
<div id="tabs">
<ul>
<li><a href="#reader_tab">Reader</a></li>
<li><a href="#credits_tab">Credits</a></li>
</ul>
<!--
LOAD & READ SECTION
-->
<div id="reader_tab">
<div id="load">
<h1>Welcome To The Open2 Engine: Bookworm</h1>
<p>Bookworm is a simple program to read documents.</p>
<table>
<tr>
<td>Select a File to Load:</td>
<td><input type="file" accept="text/*" id="fileToLoad" onchange='loadFileAsText()'></td>
</tr>
</table>
</div>
<div id="reader" class="passage"></div>
<button id="btnLoadReturn" class="BtnBackToLoad" onclick="backToLoad()">Load Another File</button>
</div>
jQuery UI makes a tab widget from two parts, the first is an unordered list that creates the tabs themselves, and then <div> elements for the contents of each tab.
Okay, 3 important things in this part, which is where we'll load and display the file.
First, the load part - that's done by including a button that opens the filesystem's file picker. That button is an <input> element with "type=file", and I added "accept=text/*" so that the file picker will only show text-based files. That's according to the file's
MIME-type, which is like a flag saying what the file is made out of. Plain text is "text/plain" (logical, no?) while HTML is "text/html" since HTML is really plain text that is just interpreted a special way. This "accept" flag will keep the user from opening a file that can't be shown (hopefully). Normally you check for user input with JavaScript, but you can define some events in HTML, which is what I've done with this button by putting the "onchange" event to trigger the JavaScript function that will actually read the file. I'm sure some purists would say you shouldn't mix the "action" of JavaScript with the "structure" of HTML, but I don't see a reason not to. Actually, I got this from the
Mozilla Developers Network.
Second, there is the blank <div> with "id=reader" - this is where I'm going to put the contents of the opened file.
Third, there is the button to return to the load section. That button is not inside the <div> for the reader, since when I load the file I'm going to over-write everything in the <div> (thus, it's empty). That button just calls a function to hide the reader and show the load section.
While that's all the active stuff, there is a little more to the page...
<!--
CREDITS SECTION
-->
<div id="credits_tab">
<p>Bookworm was written by <a href="http://d100mechanic.blogspot.com" target="_blank">The d100 Mechanic</a> and is released under a Creative Commons <a href="file:///C:/Users/user/Documents/Saved%20Documents/Writing%20and%20Creating%20Works/Creative%20Commons/legalcode" target="_blank">Attribution 4.0 International</a> License</p>
<p>Using the following Javascript Libraries:
<br><a href="https://jquery.com/" target="_blank">jQuery</a>
<br><a href="https://jqueryui.com/" target="_blank">jQuery UI</a>
<br>
<br>And JavaScript code from the blog: <a href="https://thiscouldbebetter.wordpress.com/2012/12/18/loading-editing-and-saving-a-text-file-in-html5-using-javascrip/" target="_blank">This Could Be Better</a>
</p>
</div>
</div>
<script src="javascript/jquery-3.2.1.js"></script>
<script src="javascript/jquery-ui.js"></script>
<script src="javascript/bookworm.js"></script>
</body>
</html>
Always have to remember the legal stuff. So there is a tab for my information, the Creative Commons license I'm releasing this under, and credit where credit is due so links to the sources I used to make this. The very bottom of the page is where the links to all the JavaScript files are at - that's so that those files are read after the rest of the page has already been processed. That means I don't need to worry about "document.ready" to load my JavaScript, according to the books I've read.
Now, when the page loads there is a little flash of unformatted text before jQuery UI takes over to make the widgets. I'm not fond of that, but it also isn't a huge problem. I think I'm going to try to make some kind of "load screen" to hide that behind though (later).
Okay, there's the HTML for the page, let's look at the little bit of CSS I'm using...
/*
This is the CSS code for The Open2 Engine "Bookworm"
*/
.passage {
display: none;
}
.BtnBackToLoad {
display: none;
float: right;
margin-top: 10px;
}
Not much here, just the "passage" class to hide everything (I guess I should call it "hidden" really) and the styling to put the "back to load section" button at the bottom right.
Now on to the real magic, the JavaScript...
/*
* This is the JavaScript code for The open2 Engine "Bookworm"
*/
//function to load all the jQuery UI elements
function jQueryUIsetup (){
$( "#tabs" ).tabs();
};
jQuery UI runs a function to create each widget, at the moment there is only 1 for the tabs, but I plan on adding more, so there is a function to hold all those commands.
//Set a click handler for the <body> on anything with the attribute of "data-goto"
function setGotoListener() {
$('body').on('click', '[data-goto]', function (event) {
//get the data-goto value and convert to a CSS Selector
let sGoto = "#" + $(this).attr('data-goto');
//hide the current Passage and show the goto Passage
$(this).parent('div').hide();
$(sGoto).show();
});
};
This is the function I worked on before that shows and hides passages. I've talked about it, except for one new feature. The function starts by selecting the <body> element, then setting a listener (on) for the 'click' event - and then has another selector '[data-goto]' - which is critical. The passage links don't exist yet, this JavaScript file is going to run when the page is opened, before the user can click on a file to load. So the event listener is attached to the body of the document, but the second selector means it will only trigger on elements with the "data-goto" attribute
within the body. That way it can listen for elements that will be added later.
//Function to load the file and append it to the reader div
function loadFileAsText()
{
var fileToLoad = document.getElementById("fileToLoad").files[0];
var fileReader = new FileReader();
fileReader.onload = function(fileLoadedEvent)
{
var textFromFileLoaded = fileLoadedEvent.target.result;
document.getElementById("reader").innerHTML = textFromFileLoaded;
$('#load').hide();
$('#reader').show();
$('#btnLoadReturn').show();
};
fileReader.readAsText(fileToLoad, "UTF-8");
}
This is the blog code I've mentioned earlier, pretty much exactly. First it gets the file the user selected. Then it creates a "fileReader" that is going to process that file. Next is a function that tells the fileReader what to do: get the text of the file, add it to the "reader" <div>, then show the reader and hide the loader sections. Finally, it actually kicks off the fileReader to do it's magic.
//button to hide loaded file and show load div
function backToLoad () {
$('#reader').hide();
$('#btnLoadReturn').hide();
$('#load').show();
}
//everything defined, so run setup functions
jQueryUIsetup();
setGotoListener();
The last function to define is the button that will hide the reader and show the loader section. Doesn't do much. And with all my functions defined, time to call the ones that have to run on the page load, the jQuery UI setup and adding the event listener.
I'm putting a zip file with the whole code, and a sample text file, on
my Google Drive here so you can download it and play with it yourself (should the fancy take you to do so :).
And that's it. Not a lot of code, but then it doesn't do a lot right now. I'm going to fix that though, now that I've got the base "program" working, it's time to start adding features. One thing I want is to let the user take notes on a document and save those notes, so that's going to be the next feature I'll add. Until next week!